Showing posts with label Stand Mixer. Show all posts

Saturday, December 3, 2011

Soda Can Cupcakes

When I saw this on the Cookies and Cups blog, I thought... No... There's no way...

There's no way I can mix a can of soda with a boxed cake mix and get delicious cupcakes.


Well, there's only one way to prove something. Do it.


I spent all of $2.50 on this experiment. I did exactly what Shelly, over at Cookies and Cups, did. Because I am one of little faith when it comes to wild and crazy desserts like this.

Behold.
I did not want to be stuck with 11 cans of Sierra Mist Cranberry Splash after I used the one, so I bought a 2 Liter. $1.25. :)
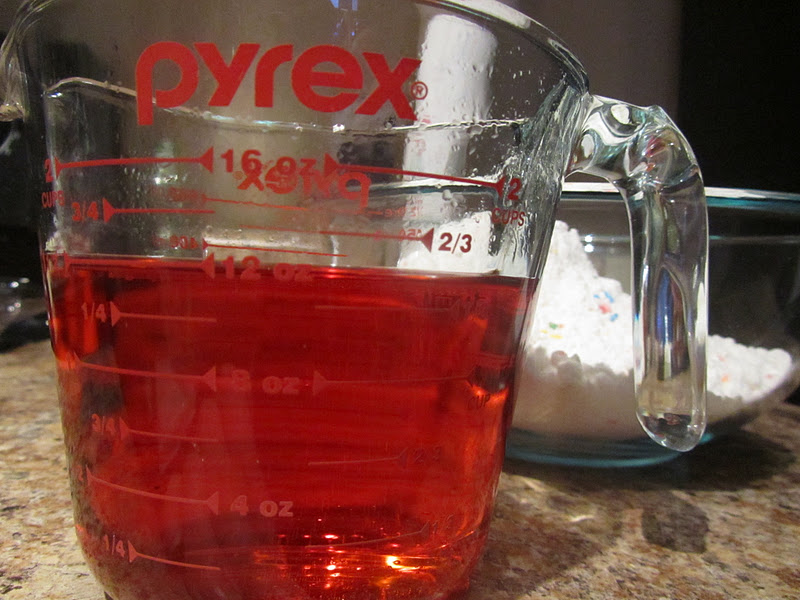
You need 12 oz. of soda (or the amount in one can). 

Pour in the soda.

It bubbles and fizzes!

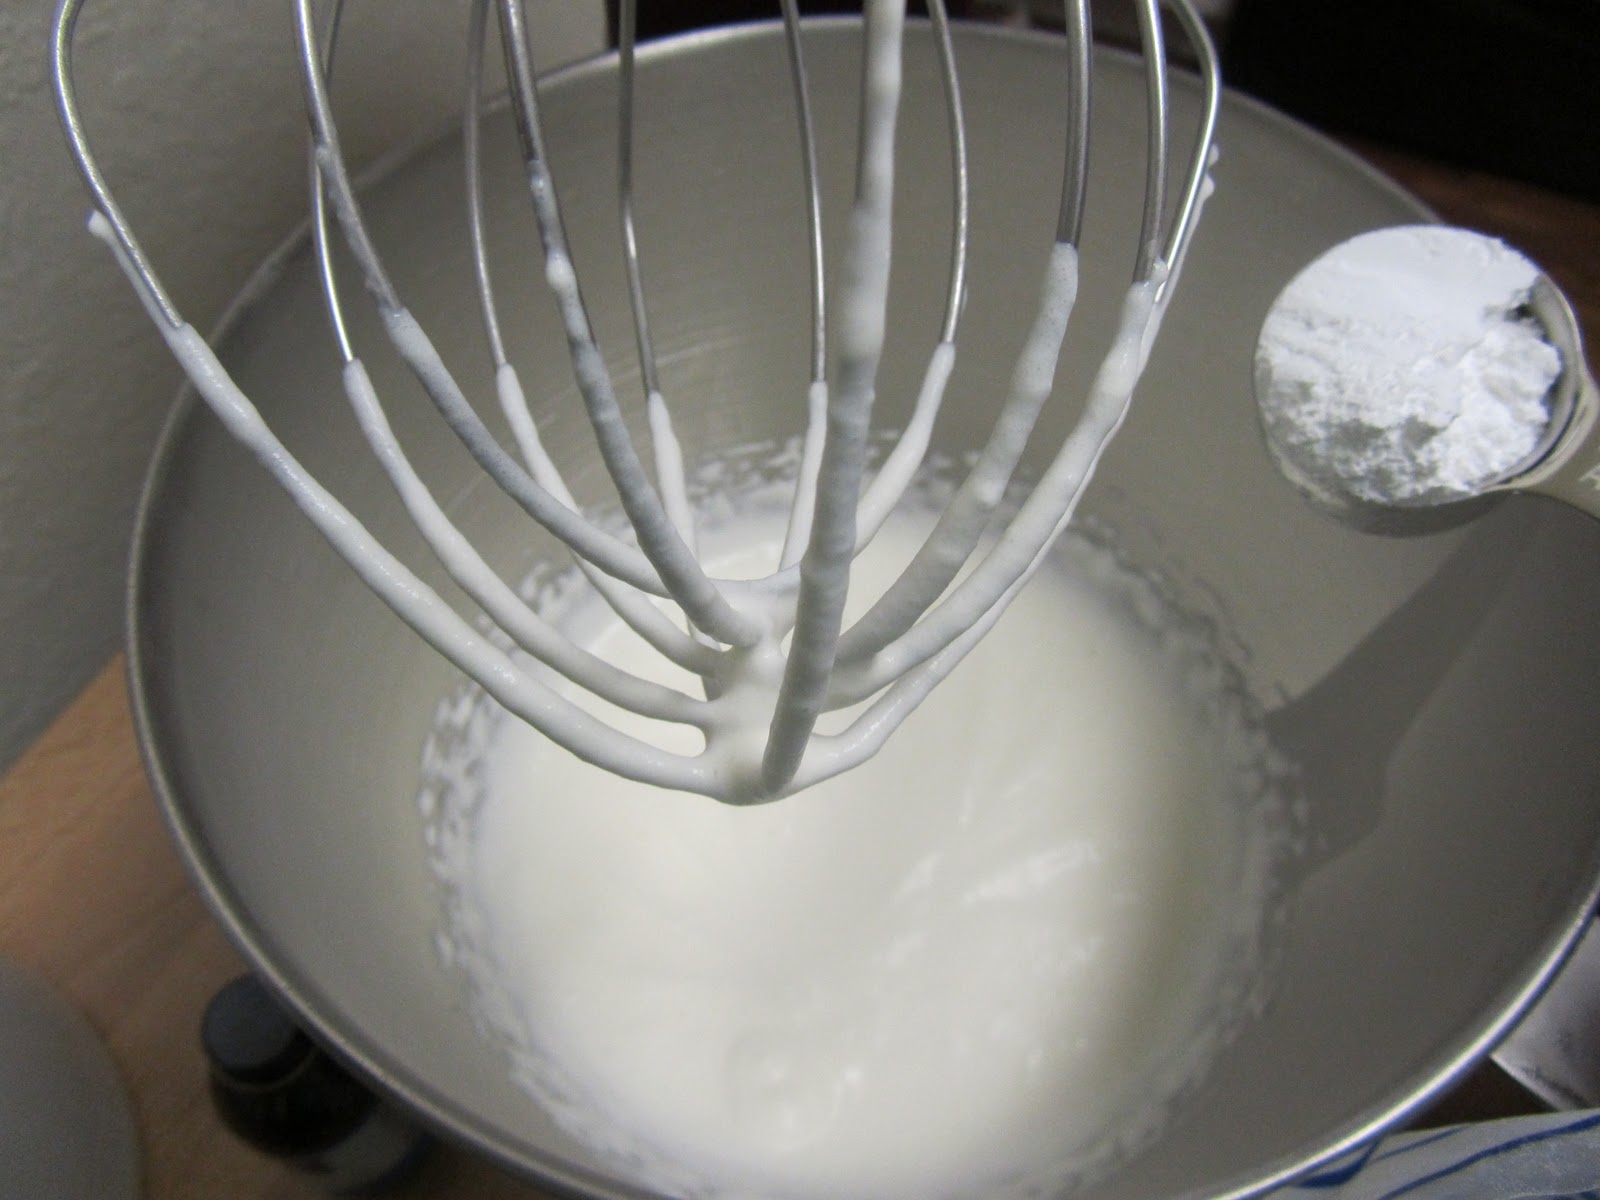
Whisk it together all nice and smooth, until large lumps disappear.

It won't make the full 24 cupcakes. I got 18 out of mine. Only fill them 1/2 - 2/3 full. 

They look pink thanks to the Cranberry Splash in my Sierra Mist! And yes, you can use WHATEVER soda you want! Dr. Pepper! Pepsi! Sprite! Cream Soda!

Look how creative I got! I made a Christmas Tree!

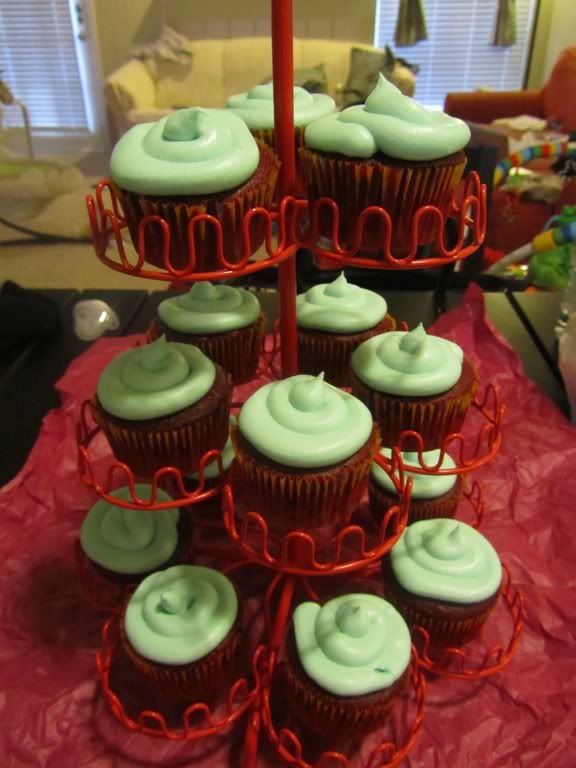
My green butter cream.

butter cream:
1/3 cup butter, softened
1/3 cup Crisco
pinch of salt
1 1/2 tsp vanilla
4 cups sifted powdered sugar
4-6 Tbs heavy cream


cream butter and Crisco together in stand mixer. add in salt and vanilla. while on low, slowly add 1 cup of sugar at a time and 1 tablespoon of heavy cream. scrape the sides of the mixing bowl occasionally to get all that goodness mixed up. repeat the additions of sugar and cream until finished. add more sugar or cream until you get your desired consistency.


The verdict:

I threw away all but three of these cupcakes. Yea, I know. What a waste. Thank goodness I only spent $2.50. And I only saved three because Hector told me he wanted to try them.

Sure, they look pretty. But the consistency of the cake was all wrong. When you put it in your mouth it turned into a chewy, gummy mess. Like gross. Like, I'd be ashamed to let someone eat these. I can see how these would be intriguing.. They look perfect. They break apart and crumble when you open them up. They smell like Funfetti cake. They even taste like it, if you can get past the yucky "cake" part of them. I think they were really hurtin' for the egg that I left out.

So, it's a cool thought.. and if you need some prop cupcakes, try these. But don't make people eat them. Just don't.

Oh, and that butter cream? First and last time I'll use that recipe. The Crisco ruined it. All I tasted was grease. Waxy, slimy grease.

Well, this baker is bummed and tired. Better luck next time.

Thursday, December 1, 2011

S'More Pie, this is not a joke

Wednesday's are Community Group day, and we got together for a fun dinner last night. I volunteered to bring dessert! (My favorite course to make!!)

I browsed pinterest for a while, looking for something creative and new. I was taken to a blog for another pin I found, so I began perusing that blog. And landed on this.

S'More Pie.


So, thanks to Cookies and Cups, I have a new blog to waste hours away with.

Here we go.
Gather these things:

1 stick salted butter, softened
3/4 cup sugar
1 egg
1 tsp vanilla
1 cup all-purpose flour
1 cup graham cracker crumbs
1 tsp baking powder
1 7oz jar of marshmallow creme
6 Hershey's chocolate bars, broken up

Preheat oven to 350.
Spray pie dish with cooking spray.
In a stand mixer, fitted with paddle, creme together the butter and sugar.
Once blended, add the egg and vanilla.
Then, on low, add the flour, baking powder and graham cracker crumbs.
Take half of the dough and press it into the greased pie dish.


Spread the Marshmallow Creme onto the dough.

Next, layer the broken chocolate over the Marshmallow creme. I got excited here and did not picture the chocolate. Or maybe I was eating chocolate. You'll never know.

Roll out the remaining half of dough, between to pieces of wax paper. Roll it into a 9 in. circle.
 Peel away one side of wax paper. Carefully flip the dough onto the pie, over the chocolate.

Now, carefully remove the last piece of wax paper.

Seal the edges together.

Now, bake it for 20-25 minutes, until lightly browned. I suggest putting a cookie sheet underneath it, it gets pretty bubbly!

 Oh, YEA.

It's hard to get a decently shaped pie piece, but no one seemed to mind. 

This pie was dee.lish.uss. A messy mixture of melted chocolate and gooey marshmallow. The easiest way to eat a S'more. I'm not sure how I don't think up stuff like this on my own. 

I may or may not have had a slice of this for breakfast with a tall glass of milk. Again, you'll never know.

Well, thank you Cookies and Cups!

Sunday, April 24, 2011

CUPCAKES!!

I made Easter cupcakes!

They were a red velvet box mix and I used milk instead of water. They're perfect! (Thanks for the tip, Amber!)

I got the buttercream frosting recipe from a Kitchenaid cook book I have.

1/3 C softened butter
1/4 C whipping cream or evaporated milk
1 t vanilla
1/4 t salt
4 C powdered sugar

That's it! I used the evaporated milk, just to try it. It turned out delicious! I added blue food coloring to the mix once it was almost creamed to perfection.


Hungry yet??!

Friday, April 1, 2011

Chocolate Chip Cookies

My mom came over on Thursday, because she missed her grandbaby. Thursday was also the night of the movie screening and my brother and his girlfriend were going to babysit. So, I decided to make some dinner and dessert for them. I made a pizza twist (Mom helped with 99% of it!), that was AMAZING, but I managed to get no pictures of it.

Mom had brought me 2 new cookbooks and one was a KitchenAid baking cookbook. (!!!) I found a recipe for chocolate chip cookies that looked amazing.

1 C granulated sugar
1 C brown sugar
1 C butter, softened
2 eggs
1 1/2 t vanilla
1 t baking soda
1 t salt
3 C all-purpose flour
12 oz. semi-sweet chocolate chips

Place sugars, butter, eggs, and vanilla in mixer bowl. Attach bowl and flat beater to mixer. Turn to Speed 2 and mix about 30 seconds. Stop and scrape bowl. Turn to Speed 4 and beat about 30 seconds. Stop and scrape bowl.

Turn to Stir Speed. Gradually add baking soda, salt and flour to sugar mixture and mix about 2 minutes. Turn to Speed 2 and mix about 30 seconds. Stop and scrape bowl. Add chocolate chips. Turn to Stir Speed and mix about 15 seconds.

Drop rounded teaspoonfuls onto greased baking sheets, about 2 inches apart. Bake at 375*F for 10-12 minutes. Remove from baking sheets immediately and cool on wire racks. Yield: 54 cookies.
[recipe from KitchenAid: A Guide to Great Baking]

I made my cookies a little bigger than a teaspoonful, I guess, because I only came out with about 38 cookies. So what. :) I also used a baking stone and of course, the cookies didn't stick one bit. Also, 12 minutes was spot on in my oven. Enjoy!


And... yummmm!

As soon as took a bite of these, I told Hector, "I'm so going to be that Mom... the one who takes baked goods up to my kid's school every time there's a party or a bake sale." And I want to be! 

I don't want to ever make cookies from refrigerated dough again, these cookies turned out so much better. And it wasn't hard either. 

I will not lie. I just warmed up a cookie and put a dollop of my homemade whipped cream on top of it and ate it with a tall glass of cold milk. Ohh.emm.gee. So delicious. :)

Wednesday, March 30, 2011

Camarones al mojo de ajo (Garlic Shrimp) & Cheesecake

Hector likes to recreate dishes that he remembers from when he was a child in Mexico. He'll usually look them up, to see all the ingredients, but then make them from memory. He's very talented in this way.

We've had a bag of shrimp in the freezer for, oh.. about a month now. You see, I don't like shrimp. So, I never made any effort to cook with it. Finally, Hector did one of his searches and came up with "Camarones al mojo de ajo," or garlic shrimp. I watched him, while I watched Cohen.

It was basically a reduction sauce made up of butter, lime juice, 1/2 cup of chopped garlic (yes, HALF a cup..) and EVOO (Rachel Ray's coined term for extra virgin olive oil). Then he added some sliced chipotle peppers and adobo sauce. He threw in the shrimp and let them simmer.

I tasted this dish and it tasted great, except that I don't care for the crunchy/chewy texture of shrimp. But he said it turned out exactly (if not better) than he'd planned. :)
sauteing a ton of garlic ;)
Finished dish. Looks yummy, right??

Great job, honey! I married a winner. :)

We've wanted to  make a cheesecake for a while now. Not sure which foodnetwork chef set us off, but we've really felt a need to try it. Or maybe we do (see below). Now I'm not talking Jello brand, just add milk and you're set.. No, no. From scratch. 

I searched foodnetwork.com for a good-looking cheesecake recipe. I was pretty certain I'd choose a Barefoot Contessa recipe, since she's my favorite. But then I ran across Anne Burrell's Goat Cheese Cheesecake. And it clicked! We'd seen her make this on her show Secrets of a Restaurant Chef! And I could trace our desire to make cheesecake back to the day we'd seen this episode. 

Ingredients:
Crust:
2 Cups gingersnap crumbs (we used graham cracker crumbs)
1/4 Cup sugar
6 Tablespoons melted butter, and a little extra
Pinch of salt

Filling:
2 (8 oz.) packages of cream cheese, at room temperature
1 (12 oz.) log of goat cheese
12 oz. creme fraiche or sour cream
4 eggs
1 Cup sugar
2 teaspoons vanilla extract

Special equipment:
9 in. spring form pan

Mix crumbs, sugar, salt and melted butter together in a bowl. Rub the extra butter on pan. Press crust mixture onto bottom and about half way up the sides of the pan. Set aside.

In a stand mixer, with the paddle attachment, cream the goat and cream cheeses together until light and fluffy. Then add the creme fraiche until well combined. Next, add the eggs, one at a time until well combined. Now add the sugar and vanilla until just combined. Be sure to scrape the sides of the bowl occasionally. 

Pour filling into the crust and bake at 350 for 55-60 minutes. Set the spring form pan on a baking sheet before putting it in the oven. Halfway through, open oven and rotate 180 degrees. If you notice the top of the cake beginning to color, tent the pan with aluminum foil. 

Remove from oven and allow to cool completely. Preferably, refrigerate overnight before serving. Enjoy!


We did end up putting the foil over ours, because, as you can see, the edges started browning. And just a side note, the middle will still look runny-ish when you pull it out, but don't worry. It will set completely once you refrigerate it. It looks amazing! But we refrained from eating it, and are letting it cool in the refrigerator overnight. Perhaps our lucky foundation group will get to sample it tomorrow night? ;)

Can I just say that this would not have been possible without my stand mixer? It is my dream tool, and it is QUITE living up to all it's hype. 

I can't wait to let you know how this, our first ever Cheesecake, turns out. I'll report on it tomorrow sometime. Cheesecake is Hector's all-time favorite dessert, so we're super excited to see if this is a good recipe or not. If the filling that we licked off the paddle is any indication, I think we're set! :)

Sunday, March 27, 2011

Cooking venture

I always have these visions of grandeur when I set out to cook something new. Like, Hector will take one bite, look at me with wide eyes and say, "Em, this is the greatest thing you've ever made. Ever." It will come from the stove, pot, or oven and be piping hot, golden brown perfection and smelling divine. Am I the only person that this rarely happens to? I mean, the food I make usually tastes OK, but not delicious. And I like to try new dishes.. You think I like making hamburger helper, hot dogs, spaghetti and baked chicken on a regular, rotating schedule? I don't. I love cook books! I just hardly ever get them out and find something new to try. I think of my Mom here. She seems to always be trying new recipes. She uses Pampered Chef recipes mostly, I think. She used to be a consultant. So she has all the tools, and knows all the techniques asked for by these recipes. I dream of the day when I can have a nice kitchen with nice appliances (I know.. I already have a fantastic mixer..) and nice cabinets and counter tops that aren't warped and stained. Pretty much, any kitchen that isn't a part of an apartment. :) Someday.

Anyways, last night I decided to try and make something delectable for dinner, keyword here being try. I had no ideas and didn't even really know what we had.

Cue my friend Jackie's inspiring blog post from a few days ago... Supercook.com. This is an ingenious website that has the potential to transform dinners everywhere. You make a list (on the site) of ingredients you have on hand and it instantly brings up hundreds of recipes that you have all the components for. And if you don't know what you have, you can put in one item, like ground beef and it will ask you: "Do you have tomatoes? black pepper? bread crumbs? etc." And you click on the items you have and it will add them to your list, while still giving you recipes that you are capable of making.

I put in chicken. Then from it's list of questionable items, I selected: Parmesan cheese, sour cream, milk, vegetable oil, paprika, garlic powder, butter, flour, salt, pepper, eggs, bread, and a few other things. I figured, certainly there's a usable recipe on here by now. :) It lists the recipes off to the side, complete with pictures. I picked one called.. Baked Paprika-Parmesan Chicken courtesy of allrecipes.com.

Mix 1/4 C all-purpose flour, 1/2 C grated Parmesan cheese, 2 t Paprika, 1/2 t salt and 1/2 t black pepper together in a bowl. In another bowl beat one egg with 2 T milk. Using 4 chicken breast halves, dredge through the egg, then cover in flour mixture. Place in a greased baking dish. Pour over 1/4 C melted butter and bake at 350 degrees for 1 hour and 15 minutes, until juices run clear and cheese is browned.


This part was MESSY... take your rings off!


Well, I've never heard of baking chicken breasts for an hour and 15 minutes.. these came out after about 35 minutes. We paired it with random things we had on hand: ranch style beans and steamed broccoli. So, the chicken. It tasted alright.. just didn't have a lot of flavor. Does chicken really have to sit in a marinade for hours on end to adopt any sort of flavor?? I'm beginning to think it must. Anyways, Hector still told me it tasted good. :) He's too sweet.

Then I decided to have another go at making whipped cream.

1 Cup of cream, 1 1/2 T granulated sugar and 1 T vanilla extract

I watched it very carefully this time, never turning my back. I did not chill my bowl this time, I think I wish I had. 
Much better!!!

My dessert: chocolate molten cake with whipped cream.

Hector's dessert: vanilla flan with whipped cream.

This whipped cream was a better consistency, although, it could have probably gone a few more seconds. But I was scared of making it chunky again. 

So, it was a good go, I suppose. I just don't know why cooking doesn't come really naturally for me, considering my Mom is such a good cook. 

Better luck next time!

Thursday, March 24, 2011

Now I can be a foodie...

If you check my facebook, then you already know that my husband Hector surprised me with a Kitchenaid Stand Mixer this past weekend. :) It's just beautiful! It's purple! or Plum? Whatever the technical name is, it's gorgeous!

Am I right?

It was such a surprise, y'all! Hector saved his own money and ordered it behind my back. Then I took a nap with Cohen on Sunday and when I came downstairs it was on the counter with a big bow on top! 

I was pretty excited to jump right in and make something, but of course had NO idea what to make. We were making spaghetti with meatballs (meatballs that we MADE, mind you..) and so I grabbed some strawberries and some heavy whipping cream. That's right, I'd decided to make whipped cream on this, my mixer's maiden voyage. 

First, let me tell you about these amazing meatballs we made! I got the recipe from foodnetwork.com and it was from Bobby Flay. 
-ground pork
-ground beef
-bread crumbs
-diced garlic, sauteed
-eggs
-grated Parmesan cheese
-Italian parsley
-olive oil
-salt & pepper 
It may, or may not, have called for onions which WE chose to leave out. :)

What a tasty meal! And something we'd never tried to make before. That's homemade garlic and Parmesan bread there, too. :)

So, then I hopped back into the kitchen to prepare our dessert!

I pulled my mixer bowl and whisk attachment out of the freezer where I'd been chilling them and attached them to the stand. 1 Cup of heavy whipping cream went into the bowl.
(it's spinning there, can you tell??)
After that mixed on low for about a minute, I think, I added a Tablespoon of vanilla extract and a Tablespoon of powdered sugar and gradually worked to mixer up to about 6.


And here's where it can go from perfect to butter in seconds... It was looking amazing, I turned to put away the vanilla and sugar and turned back to find this:
Is that all I did wrong? A few too many seconds? Or was the speed up to high?


Besides texture, it tasted soooo good! We put it on some strawberries we had sliced, sprinkled with sugar and refrigerated a few hours earlier. So yummy! 

I'm so excited to make some cupcakes, cake, cake balls, biscuits, or SOMETHING, sometime soon. Any suggestions? I have my eye on a few cookbooks at amazon.com that are specifically for stand mixers. I'm not the type of person who can just think up a recipe (that actually tastes good), it has to be written out for me. 

This is the first of many posts you'll find of me featuring my Mixer. I probably need to name her. :)

In other news, how cute is Cohen here, while out shopping with my Mom and me in Paris??
He gets all the girls' attention with that face :)

Oh, that face.. [sigh....]

Related Posts Plugin for WordPress, Blogger...